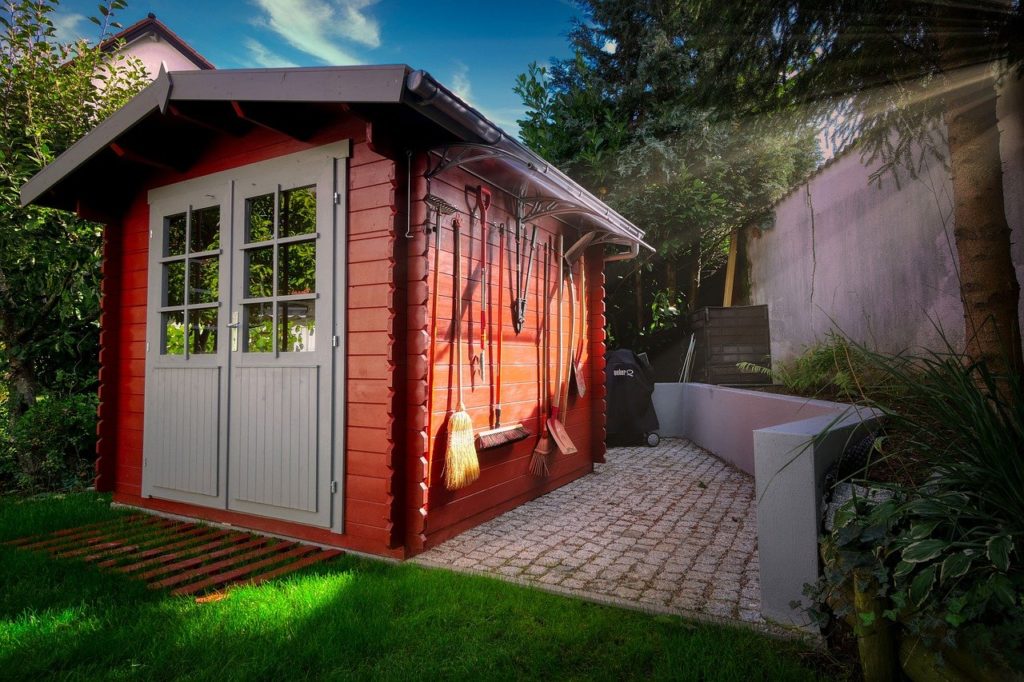
A storage area for garden tools, diverse kawaii.group pots, pruning shears should be close at hand. So why not build a shed right there, in the garden?
Difficulty Rating:
Medium Time Needed: Four to five hours (excluding drying time)
Materials: treated pine planking
Shopping list
- framework: eight 3000 x 44 x 32mm pine planks
- floor: two 800 x 400 x 22mm laminated pine planks
- back: two 1 800 x 400 x 22mm laminated pine planks
- sides: four 2 000 x 400 x 22mm laminated pine planks
- roof: two 900 x 450 x 22mm laminated pine planks
- roof fascias (optional): four 910 x 32 x 4mm pine strips
- door: two 1790 x 355 x 22mm laminated pine planks
- shelves (optional): 800 x 300 x 22mm laminated pine planks
Other items
- 40mm and 60mm chipboard screws
- hinges
- waterproofing
- upholstery nails
- wood glue
- 12mm wooden dowel (optional)
- wood primer
- wood filler
- acrylic PVA or wood oil/varnish
- paintbrush
- foam roller
Tools
- pencil
- tri-square
- cut-off saw
- tape measure
- cordless drill
- 3mm and 12mm drill bits
- G-clamps
- power drill
- jigsaw
- orbital sander
- hammer and wooden mallet
- Diagram
Get Started
1 Use a pencil, tri-square, and saw to measure and cut the following lengths from the eight 3000 x 44 x 32mm planks: two 2 000mm pieces (front uprights), two 1 800mm pieces (back uprights), five 712mm pieces (horizontal supports to form the front and back frames), four 714mm pieces (horizontal supports to join the front and back frames), and two pieces approximately 800mm long. These lengths are all used to build the framework of the shed.
2 Construct the back part of the frame by drilling, glueing and screwing (using the 60mm chipboard screws and 3mm drill bit) the two 1800 x 44 x 32mm back uprights and three 712 x 44 x 32mm horizontal supports together, placing one of the horizontal supports in the middle of the frame to provide extra support to the framework. Do the same to complete the front part of the frame using the two 2000 x 44 x 32mm front uprights and the remaining two 712 x 44 x 32mm horizontal supports. The front part of the frame, of course, does not have a center brace as this will be the opening for the door.
3 To form the sides of the framework, stand the front and back frame sections upright on their sides, using G-clamps for stability. Join the front and back frames at their bases, on either side, using a 714 x 44 x 32mm length and 60mm chipboard screws. Use the tri-square to make sure that they are joined at right angles. Use the final two 714 x 44 x 32mm lengths in the middle of the framework on each side to provide each side with a center brace for extra stability.
4 Stand the framework upright. Hold the two 800mm sections alongside the framework in order to mark the angle of the gradient between the 2000mm-high front frame and the 1800mm-high back frame. Cut these angles using the jigsaw and screw these remaining pieces in place to complete the sides of the frame. This angle forms the pitch for the roof of the garden shed.
5 Size the two-floor planks to a combined dimension of 800 x 778 x 22mm. Cut a 44 x 32mm rectangle out of each corner. Place the planks on top of the framework that forms the base of the garden shed, and then screw them down using 40mm chipboard screws.
6 Lay the two 1800 x 400 x 22mm back pieces onto the back of the framework and fix them in place all along the edges and the center brace using 40mm chipboard screws. Drive the screws slightly below the surface. Place the framework on its side and place two 2000 x 400 x 22mm side sections onto the side of the framework. Hold them in place using G-clamps and then mark the front-to-back incline of the top edge of the framework onto the planks. Cut along this line with the jigsaw. Repeat for the other side of the framework.
7 Fix these side panels in place using 40mm chipboard screws. Screw along the entire framework: top, bottom, sides, and center braces. Drive the screws slightly below the surface.
8 Screw the two 900 x 450 x 22mm roof sections to the roof framework using the 40mm chipboard screws. There will be a slight overhang on all sides. Fix the waterproofing to the roof by folding it over the edge and fastening it with upholstery nails. The roof panel can be edged with fascias (using 900 x 32 x 4mm pine strips) if you wish.
9 Use offcuts (about 150mm in length) to create feet for the shed. Screw these feet, using 40mm chipboard screws, into all the corners under the base at right angles, as shown. These will raise the shed off the ground and prevent the wood from rotting.
10 Construct the door by screwing three braces (use offcuts sized to 700 x 44 x 32mm) across both 1790 x 355 x 22mm door sections at the top, middle, and bottom of the door using 40mm chipboard screws. Hang the door inside the opening and fasten the hinges to the frame and door, on the outside. The door should have a 2-3mm gap all around.
11 Cut out corners on the 800 x 300 x 22mm shelves and fit them in place, as . Screw the first shelf to the center brace on each side of the shed. Use 714 x 44 x 32 strips (offcut pieces) on each side as supports for additional shelves.
12 Use a 12mm drill bit to drill holes along an inside strut. Space these holes about 60mm apart. Cut 150mm sections of wooden dowel, put some glue in the holes, and then knock the dowels into the holes using a mallet, as shown.
13 Construct a holder for your garden shears and other hand tools on the inside of the door against a door brace by using offcut pieces as spacers and another 710 x 44 x 22mm section, as shown.
14 Cup hooks can be fixed to the inside of the door in the center brace from which you can hang items such as gardening gloves.
15 Finish the project by filling the screw holes with wood filler and then sanding the entire garden shed. Paint the exterior in your color of choice, if you wish. A primer should first be applied and allowed to dry thoroughly before you paint with a suitable outdoor paint product. Your new garden shed can then be used as a functional focal point in the garden.